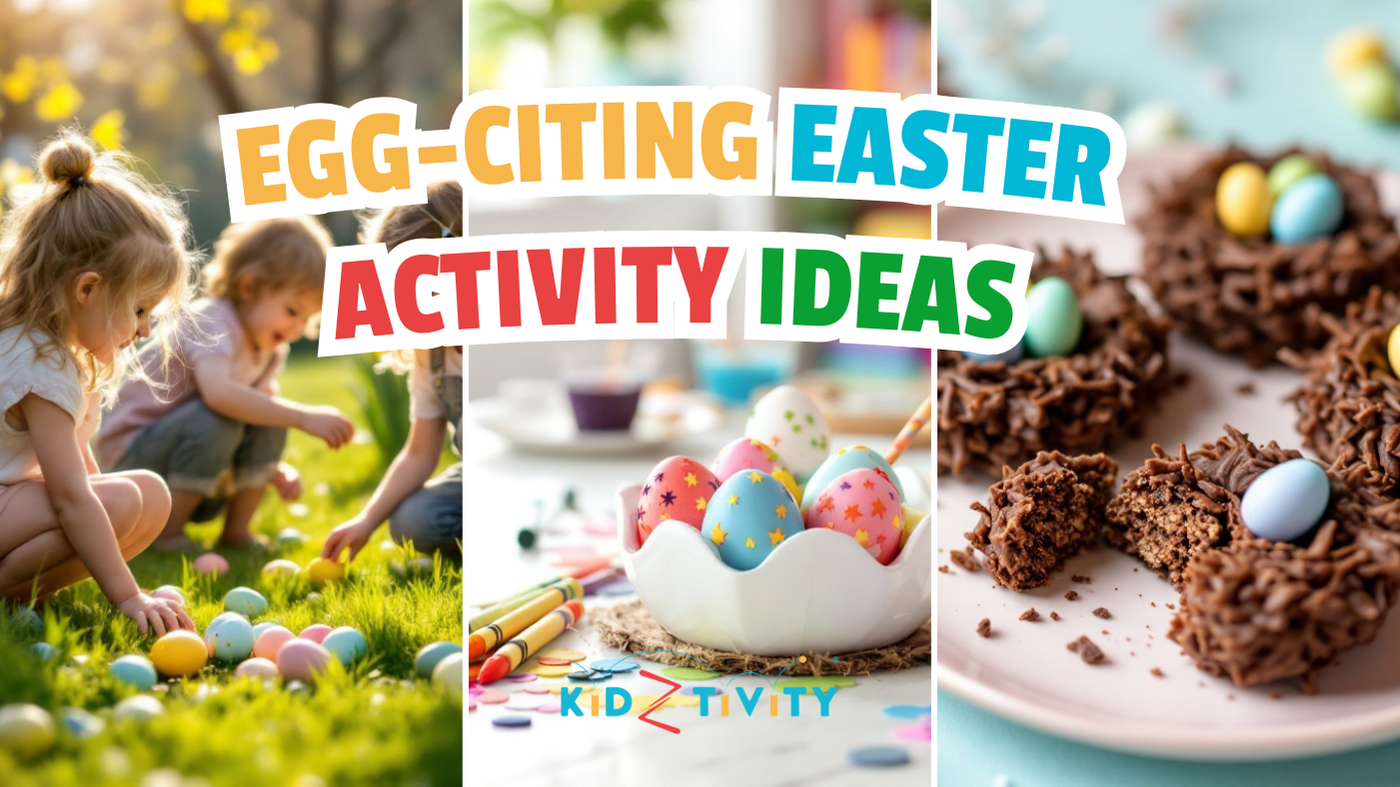
Welcome to our egg-citing Easter activities guide! 🐰 We’ve created a collection of fun, hands-on stations that will keep little ones entertained throughout the Easter break. From creative crafting to simple baking, each activity is designed to develop different skills while making precious holiday memories together.
Whether you’re decorating eggs, weaving baskets, or creating adorable sock bunnies, these stations can be set up easily at home or in groups, making them perfect for playdates or holiday clubs. Get ready to hop into some Easter fun with these engaging activities that combine creativity, learning, and festive celebration!
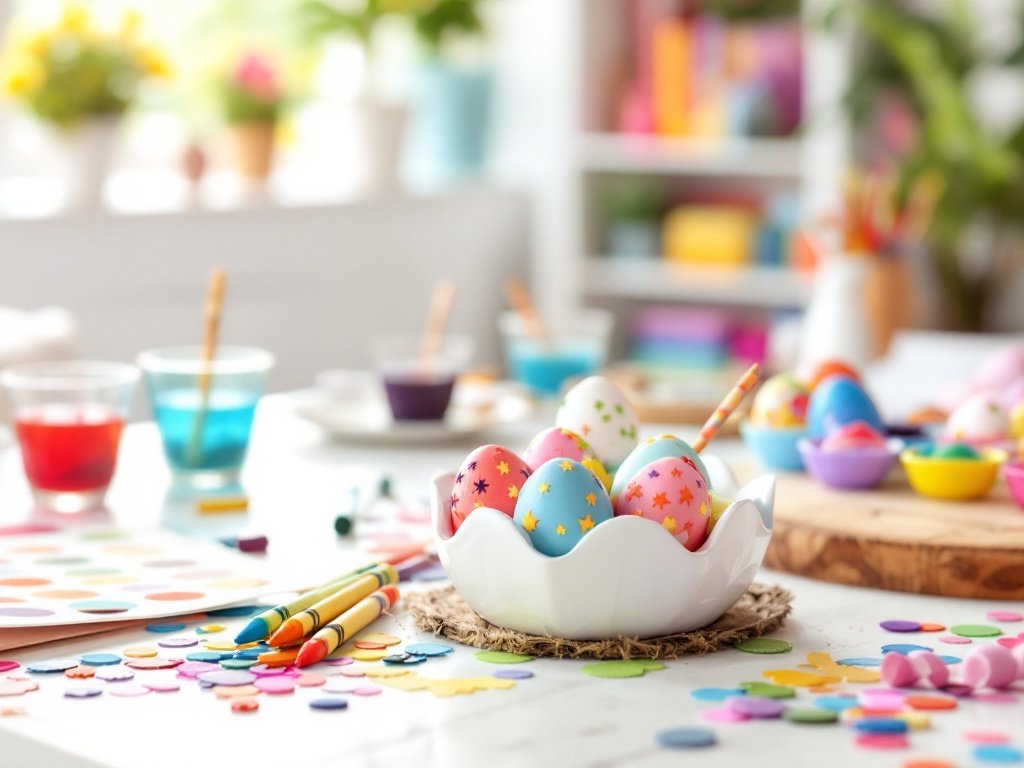
Easter Egg Decorating 🥚
Transform plain eggs into colourful masterpieces! This hands-on station lets little artists explore their creativity while developing fine motor skills.
Materials:
- Hard-boiled eggs
- Food colouring or natural dyes (beetroot, turmeric, cabbage)
- White vinegar
- Stickers
- Crayons
- Small bowls for dye
- Paper towels
- Egg cartons for drying
Instructions:
- Set up dye stations with different colours
- Mix 1 cup warm water, 1 tbsp vinegar, and food colouring
- Draw patterns on the eggs
- Zigzags
- Spots
- Swirls
- Names
- Easter Shapes
- Lower eggs into dye using a spoon
- 30 seconds for light colour
- 60 seconds for deeper colour
- Places eggs in carton to dry
- Decorate dried eggs with stickers
- Draw any extra detail with markers
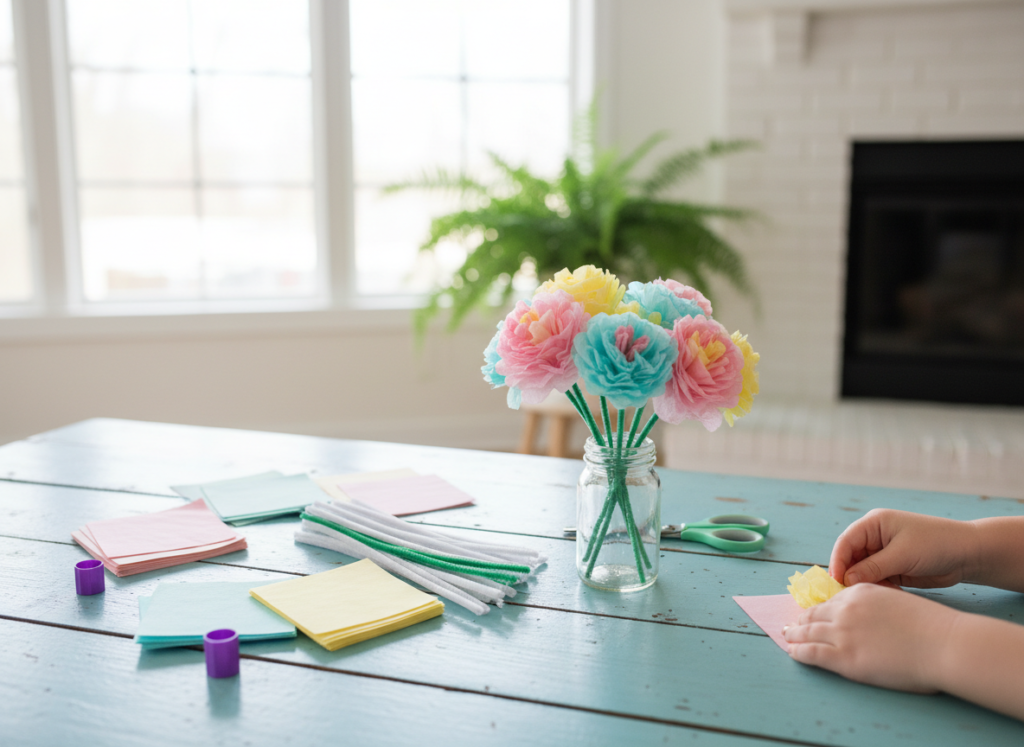
Spring Blooms: Tissue Paper Flowers 🌸
Create a beautiful spring bouquet that lasts forever! This creative station helps develop fine motor skills and colour recognition.
Materials Needed:
- Squares of tissue paper (6-8 sheets per flower)
- Pipe cleaners
- Scissors
- Ruler for measuring
Instructions:
- Preparation:
- Stack 6-8 sheets of tissue paper
- Cut into 8″ x 8″ squares
- Keep edges aligned neatly
- Accordion Folding:
- Start at one edge
- Make 1-inch folds back and forth
- Continue until all paper is folded
- Should look like a long strip
- Securing the Centre:
- Fold the strip in half to find middle
- Wrap pipe cleaner around centre
- Twist tightly to secure
- Leave long end for stem
- Shaping the Ends:
- Option A – Rounded Petals: Cut ends into semi-circles
- Option B – Pointed Petals: Cut ends into points
- Option C – Fringe: Cut thin strips but don’t cut all the way through
- Creating the Flower:
- Gently pull up first layer
- Separate each layer carefully
- Pull toward center
- Work one sheet at a time
- Fluff and adjust petals
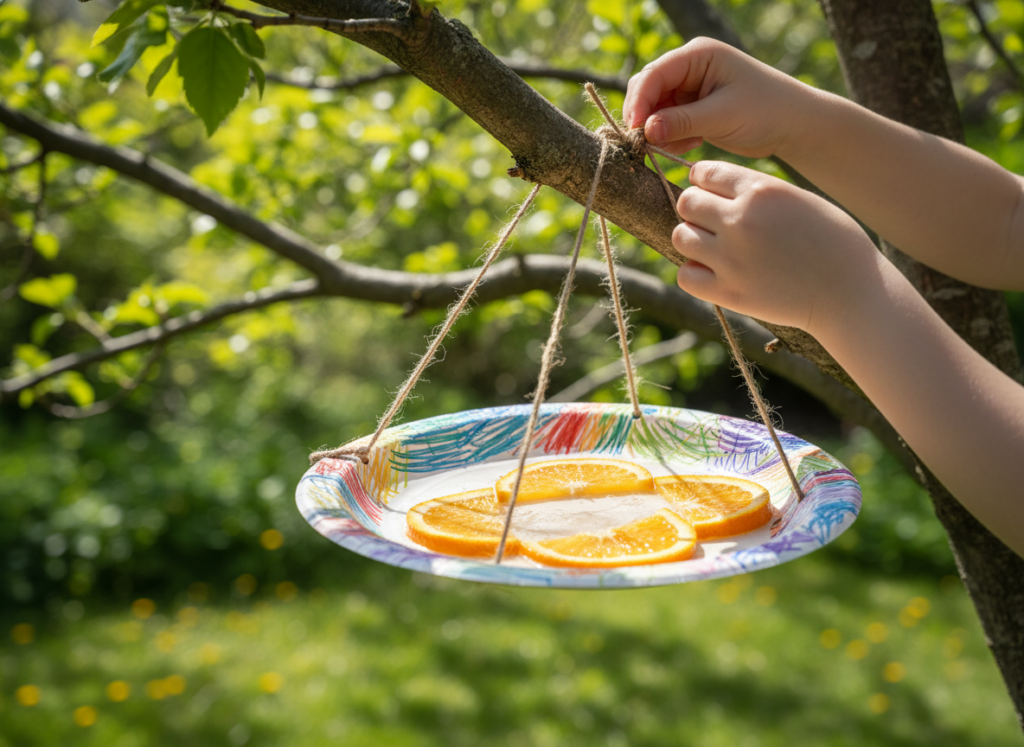
🦋 Beautiful Butterfly Feeders 🦋
Attract real butterflies to your garden with these colourful feeders! Children learn about nature while creating something meaningful.
Materials:
- Paper plates
- String
- Beads
- Waterproof markers
- Hole punch
- Sugar water (1 part sugar, 4 parts water)
- Mushy fruit
Creation steps:
- Decorate plate centres using butterfly-attracting colours (red, yellow, pink)
- Punch 4 holes around the edge
- Thread string through holes
- Add beads for decoration and tie the ends together for a hanger
- Add the fruit or sugar water to attract the butterflies
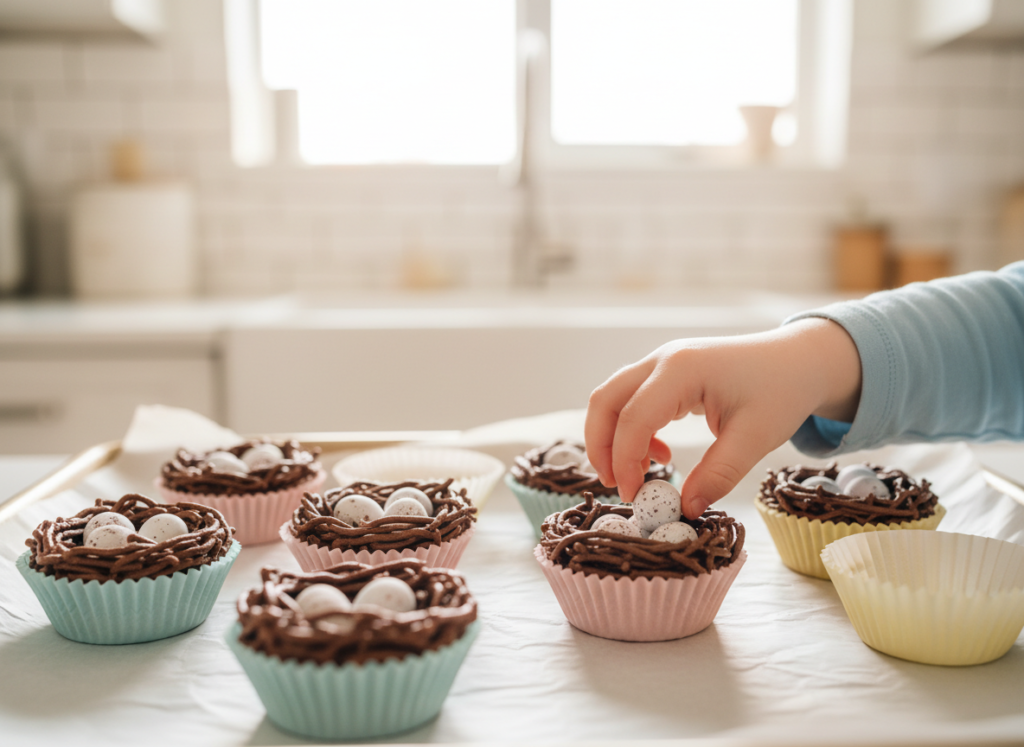
No-Bake Bird’s Nest Cookies 🍪
Create edible art with these delicious nest cookies! Perfect for developing measuring skills and learning about birds
Ingredients:
- 200g milk chocolate
- 100g shredded wheat or cornflakes
- Mini eggs
- 12 paper cake cases
- Large mixing bowl
- Wooden spoon
- Measuring cups
- Baking tray
Step-by-Step Instructions:
- Preparation
- Line a baking tray with paper cases
- Break chocolate into small pieces
- Get all ingredients ready before starting
- Melting the Chocolate (Adult Help Needed)
- Place chocolate in microwave-safe bowl
- Heat in 30-second bursts
- Stir between each burst
- Continue until fully melted and smooth
- Making the Nests (Kids Can Help)
- Gently crush cereal into smaller pieces
- Pour into melted chocolate
- Stir carefully until all cereal is coated
- Shaping the Nests
- Spoon mixture into paper cases
- Make a small dip in the centre (like a nest)
- Add 2-3 mini eggs to each nest
- Setting
- Place in fridge to set (about 1 hour)
- Keep in cool place until ready to eat
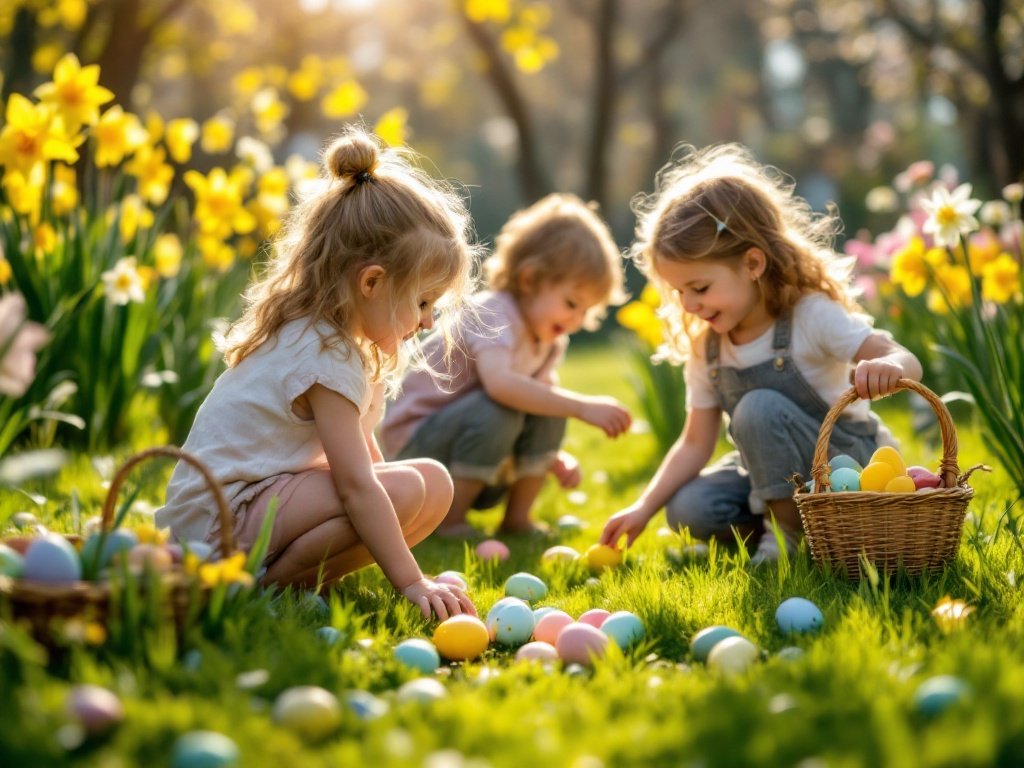
Easter Egg Hunt Adventure 🗺️
Turn a classic egg hunt into an exciting treasure trail! Develop problem-solving skills with clues and challenges.
Preparation Materials:
- Plastic eggs in various colours
- Small treats/prizes to fill eggs
- Clue cards or riddles (optional)
- Easter baskets or bags for collecting
- Decorative signs/arrows
- Boundary markers/ribbons
- Prize stickers
- Safety checklist
Setup Instructions:
- Planning Stage
- Map out hunting area
- Create clear boundaries
- Plan difficulty levels for different ages
- Check area for safety hazards
- Count eggs before hiding
- Hiding Zones (Create Different Areas)
- Easy Zone: Open spaces, visible spots (ages 2-4)
- Medium Zone: Partially hidden (ages 5-7)
- Challenge Zone: Well-concealed (ages 8+)
- Egg Distribution Guidelines:
- Easy Zone: 8-10 eggs per child
- Medium Zone: 6-8 eggs per child
- Challenge Zone: 4-6 eggs per child
Running the Hunt:
- Welcome Station
- Give each child a basket
- Explain rules and boundaries
- Hand out hunt maps if using
- Assign zones by age
- Starting the Hunt
- Line children up by age groups
- Stagger start times if needed
- Give clear start signal
- Have adults supervise zones
- During the Hunt
- Keep count of found eggs
- Help younger ones if needed
- Give gentle hints
- Keep energy positive
- Finishing Up
- Signal when hunt ends
- Count eggs with children
- Hand out prize stickers
- Share treats together
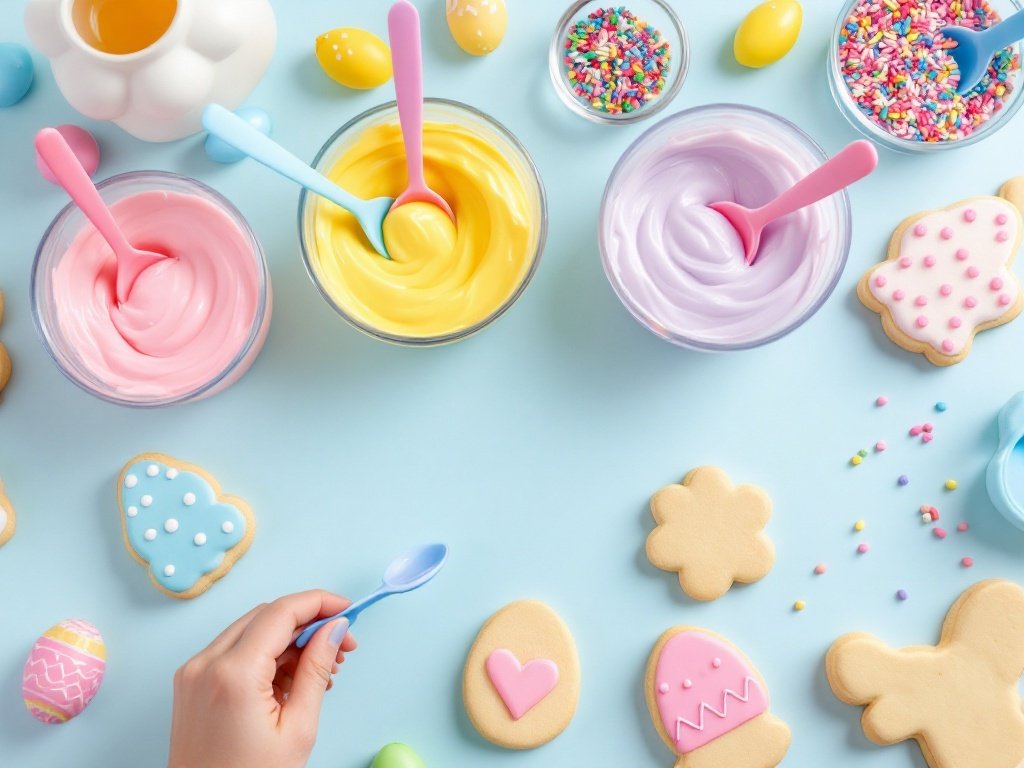
Easter Sugar Cookies 🍪
(Makes approximately 24 medium-sized cookies)
Ingredients:
- 300g plain flour
- 1 tsp baking powder
- Pinch of salt
- 150g unsalted butter, softened
- 150g caster sugar
- 2 medium eggs
- 1 tsp vanilla extract
For Decorating:
- 250g icing sugar
- 2-3 tbsp warm water
- Food colouring (pastel colours)
- Sprinkles, hundreds and thousands, silver balls
- Any Easter-themed decorations
Equipment:
- Large mixing bowl
- Wooden spoon or hand mixer
- Rolling pin
- Easter cookie cutters (eggs, bunnies, chicks)
- Baking trays
- Baking parchment
- Wire cooling rack
Method:
- Mix flour, baking powder and salt in a bowl
- In another bowl, cream together soft butter and sugar until light and fluffy
- Beat in eggs and vanilla
- Gradually stir in flour mixture until you have a soft dough
- Wrap in cling film and pop in the fridge for 30 minutes
- Heat oven to 180°C (160°C fan/Gas 4)
- Line baking trays with parchment
- Roll out dough on a lightly floured surface to about 5mm thick
- Cut out shapes and place on trays
- Bake for 8-10 minutes until just golden at the edges
- Cool completely before decorating
For the Icing:
- Sift the icing sugar into a bowl
- Add warm water one spoonful at a time
- Mix until smooth (should be thick like toothpaste)
- Split into smaller bowls
- Add a few drops of food colouring to each bowl
- Mix until you get lovely Easter colours!
Kid-Friendly Decorating Tips:
- Use the back of a teaspoon to spread icing
- Sprinkle decorations on while icing is wet
- Try these easy patterns:
- Squiggly lines on Easter eggs
- Simple dots for bunny’s fur
- Stripes for chick’s wings
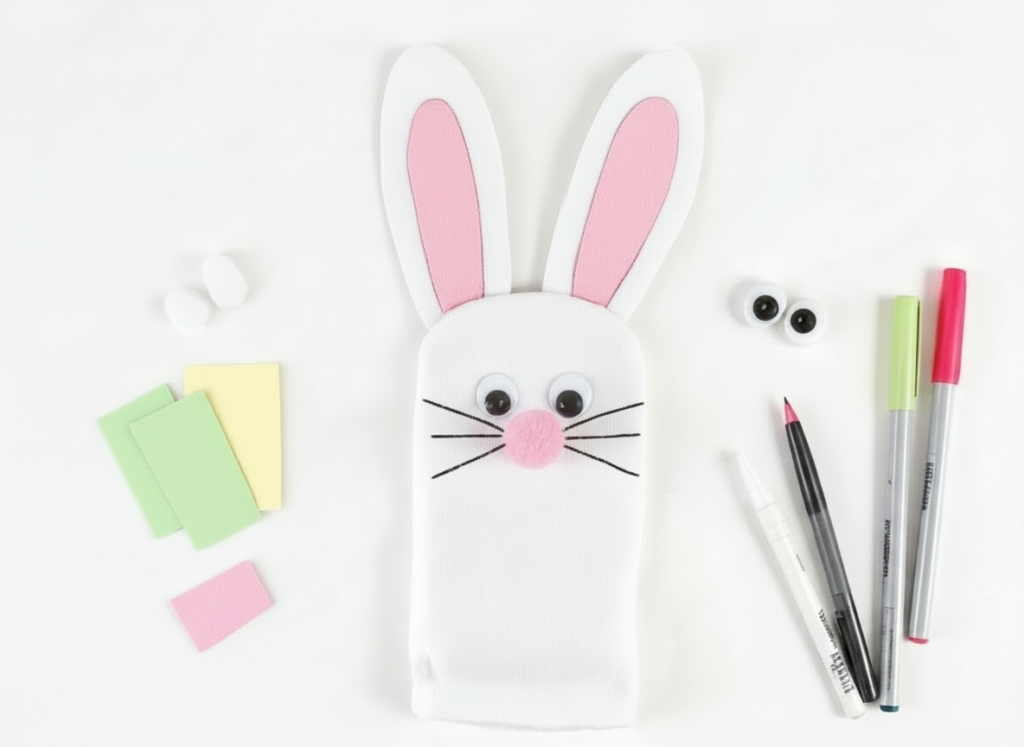
Hoppy Bunny Sock Puppets 🐰
Create cute little bunny puppets out of your socks!
Materials
- White socks (one per child)
- Pink and white felt pieces
- Googly eyes
- Pink pom-poms for nose
- Craft glue
- Black markers
- Scissors (adult supervision required)
- Optional: ribbon for bow
Instructions:
- Start with a clean white sock
- Glue two large googly eyes to the sock’s toe area
- Cut ear shapes from white felt, and smaller pink felt for inner ears
- Glue the pink felt pieces onto the white ear shapes
- Attach the ears to the top of the sock
- Glue a pink pom-pom for the nose
- Draw whiskers with black marker
- Optional: Add a ribbon bow
We hope these Easter activity stations have brought joy and creativity to your holiday celebrations! 🥚 Each station offers a unique way to engage children while developing important skills like fine motor control, following instructions, and creative expression.
From all of us, have a hoppy Easter filled with fun, creativity, and perhaps a few chocolate treats! 🐣